Generative Art Tutorial

A thread by GenLight (@generativelight) · 28 April 2022 · 25 posts
Unrolled from: x.com/generativelight

1

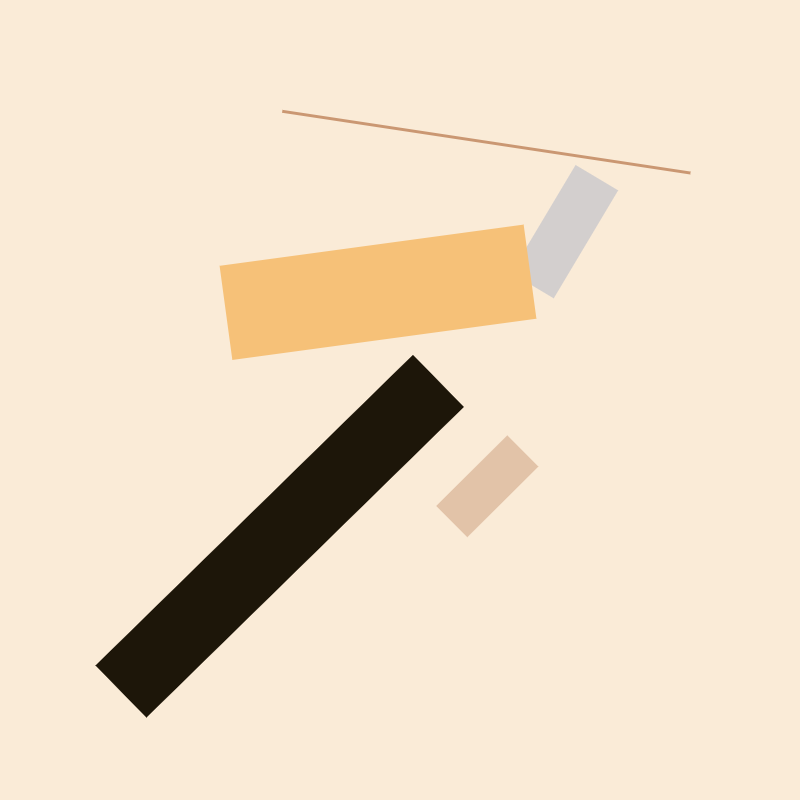
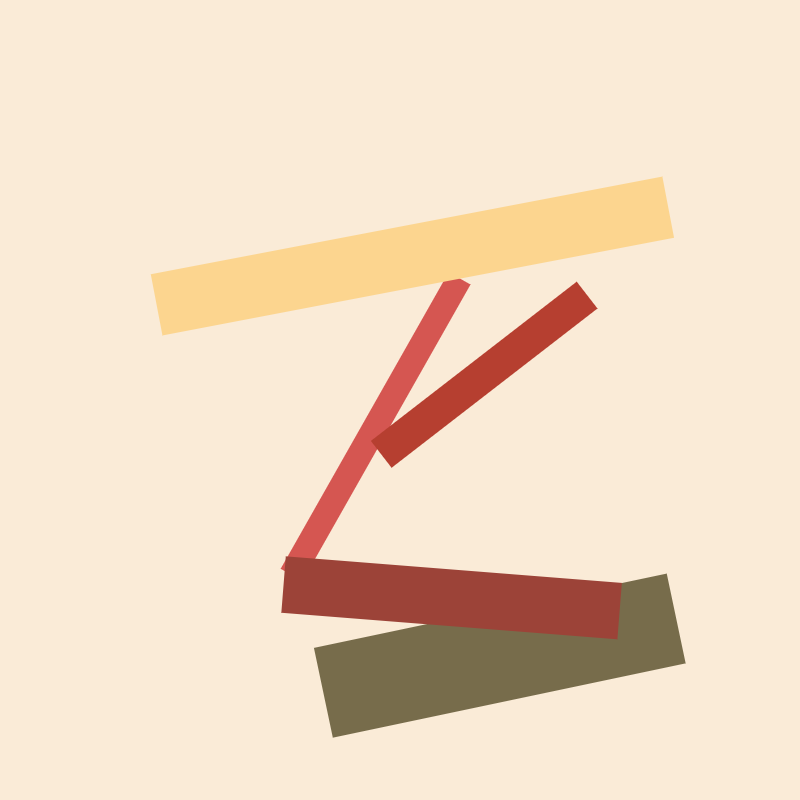
YOU are going to make a piece of generative art right now in 10 minutes. No watching tutorials, no downloading software. Just your browser and 21 lines of code. By the end you’ll have a basic, but fun abstract generative art collection like this. #generativeart
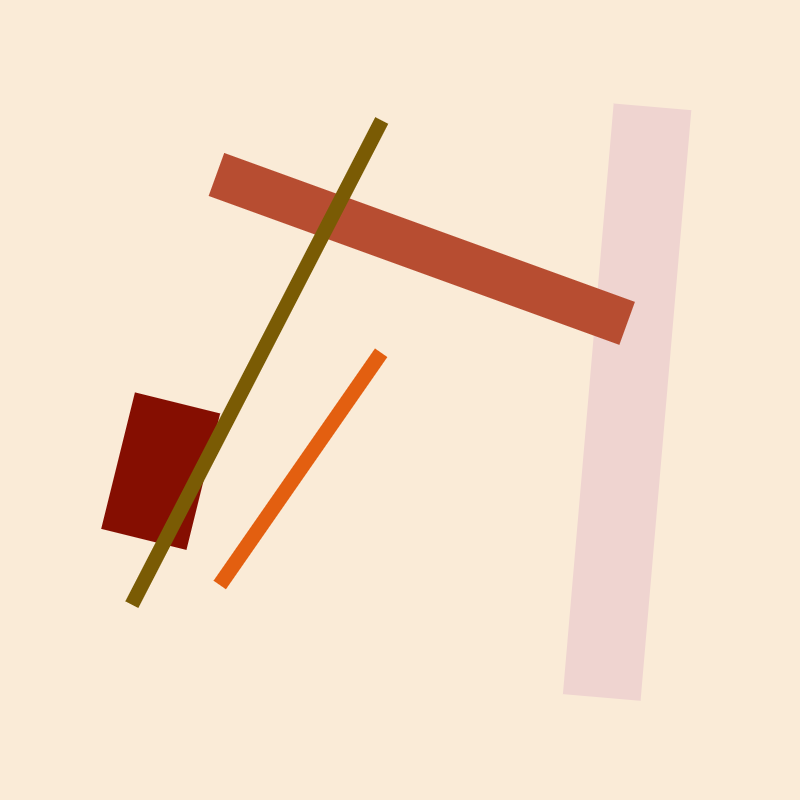
A grid of abstract generative art pieces: thick coloured strokes on an antique-white ground.
2

Before I start, I want to note that this approach builds upon a thread by @abwagmi that got me started in the space and I made sure he was ok with me doing a similar thread

3

Altho i’ve been a fan of generative art for years, I only started making it 3 months ago. The question I hear over and over is “how do I start?” It took me years and dozens of false starts before one thread finally pushed me over the edge. So I want to do the same here for you

4

Step 1. Open the p5js editor in your browser: editor.p5js.org This allows you to write code, click play, and see it immediately. Don’t worry about making an account or anything like that yet.

5

Let’s get familiar…

function setup() {
  createCanvas(400, 400);}

This tells the editor to create a frame that is 400 pixels wide and 400 pixels high.

6

Let’s make our first change, a little bit of hygiene. We’re going to add a line that tells the editor to only run the code once. Otherwise it will re-loop through the code infinitely. It should now look like this:

function setup() {
  createCanvas(400, 400);
  noLoop()
}
7

Let’s make another change here and tell the editor we want to use Hue-Saturation-Lightness for the color. I like this better than RGB because it feels more intuitive to me.

function setup() {
  createCanvas(400, 400);
  noLoop()
  colorMode(HSL)
}
8

Now let’s look at that next section of code. Replace 220 with “antiquewhite” and then click the play button. You now have a nice canvas-looking frame to play with.

function draw() {
  background('antiquewhite');
}
9

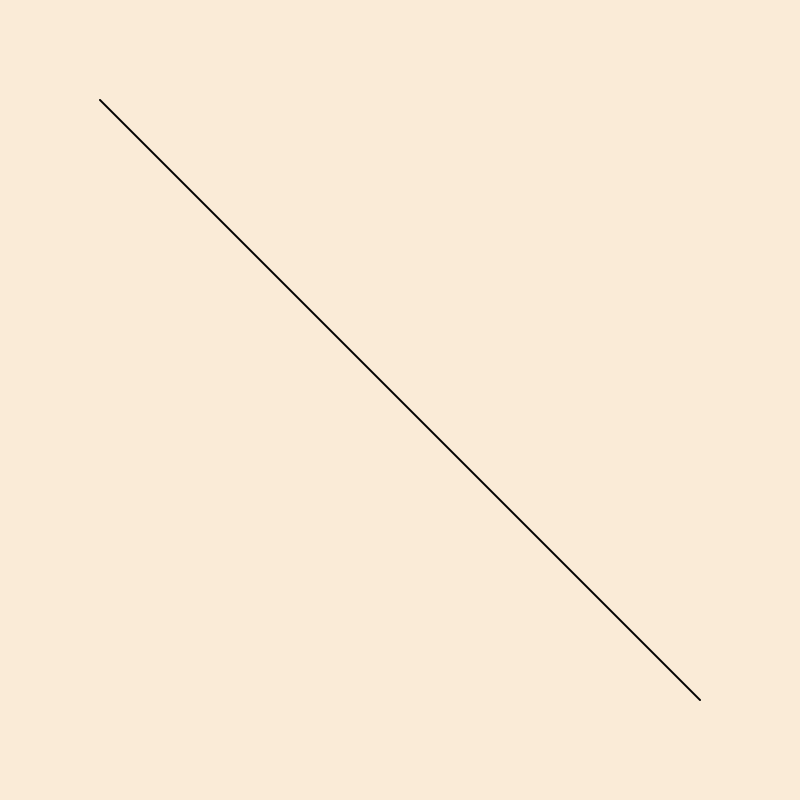
Now let’s draw! We’ll start with a line. We provide the x and y value of the first point and then the second. I’m saying “draw a line from 50 pixels to the right and 50 pixels down to 350 pixels, etc.

function draw() {
  background('antiquewhite');
  line(50,50,350,350)
}
10

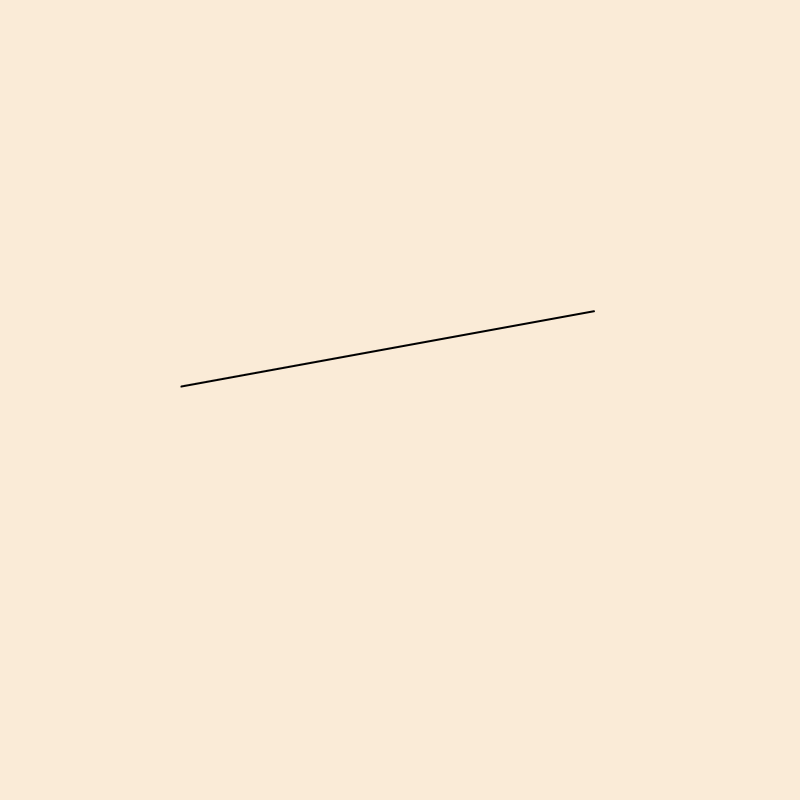
Click play and you should be seeing this. You’ve done it. You’re talking to a computer.

A p5.js sketch: a single thin diagonal line across an antique-white square canvas.
11

Ok now let’s make this generative art, by editing your line to:

line(random(50, 350), random(50, 350), random(50, 350), random(50, 350));

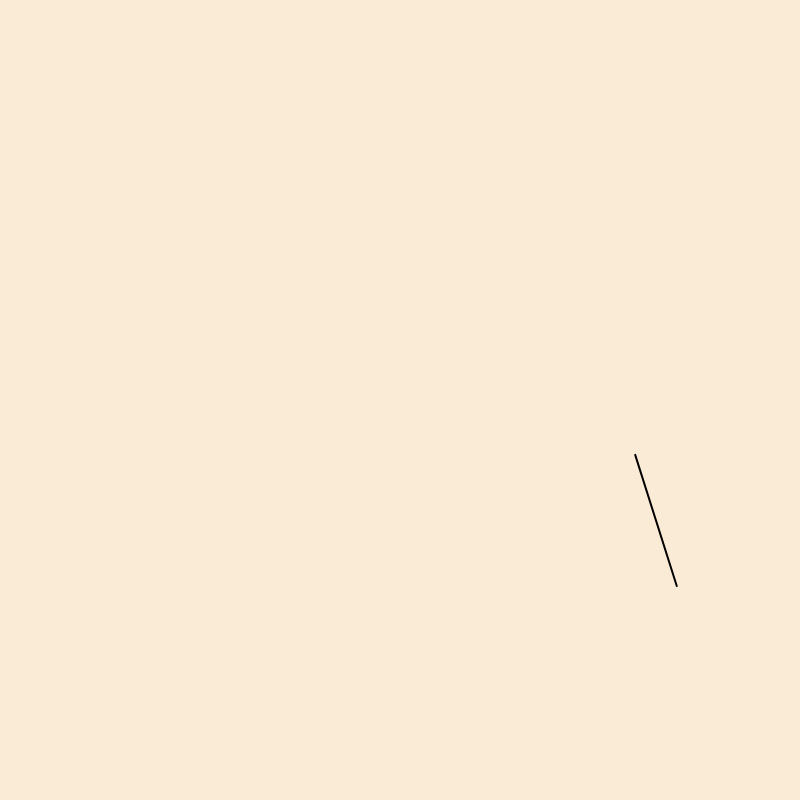
Now we’re telling p5js: “Vary the x and y value of each point of the line by picking a random number between 50 and 350 each time.”

A thin line at a random angle across an antique-white canvas. Another run of the same sketch, the line at a different random angle.
12

Think about how many variations there are of this alone. You’ve created your first mini collection. Now let’s embellish. Add this to your code, above the line() function:

strokeCap(SQUARE);
strokeWeight(25);
stroke(random(0, 50), random(0, 100), random(0, 100));
13

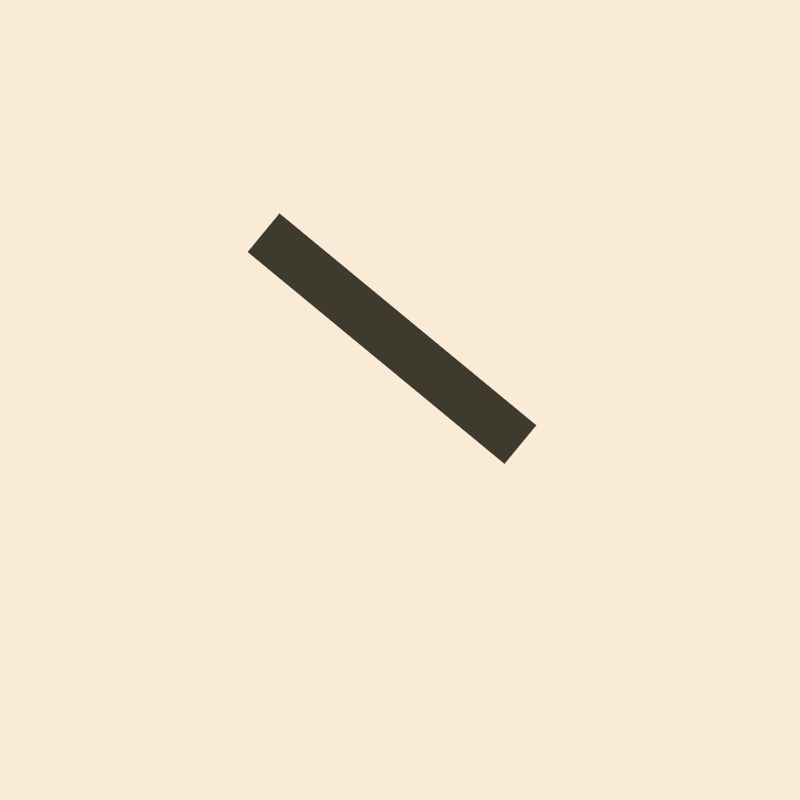
The first line makes sure the end of your line is square, not rounded The second line sets thickness to 25 pixels - chonky The third line says you want a random number between 0 and 50 or 0 and 100 for the Hue, Saturation, and Light - the color. Now click play a bunch.

14
One thick square-ended stroke in a random warm colour on antique white. Another run: a thick stroke in a different random colour and position.
15

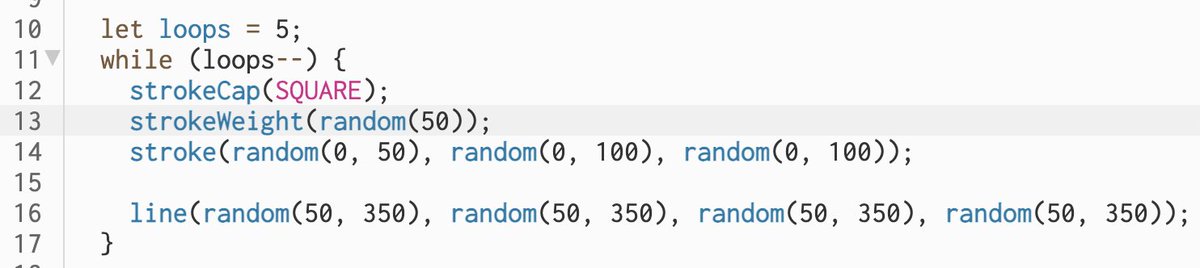
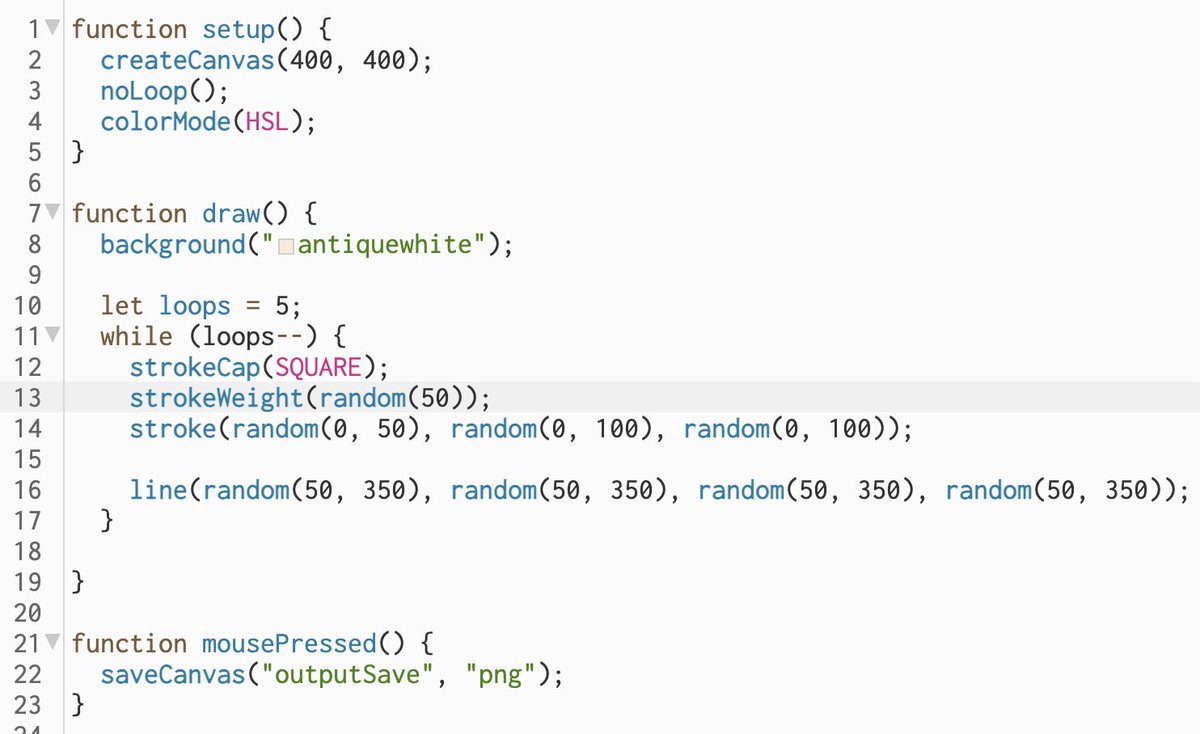
Ok it’s time for the biggest upgrade we’ll make. One line doesn’t feel like enough. Let’s add a “while” loop which says “run this section of code X many times in a row.” To to do that you’ll want to place the 4 lines I mentioned above within the loop brackets, like this:

Screenshot of the p5.js editor showing the draw function with the stroke and line calls wrapped in a while loop.
16

That says “make this line 5 times. And because we’ve added random(), each line will be different. Be a little careful here and make sure to only set loops = to a whole number or it will break, e.g., the code can’t run 5.2 times.

Five thick overlapping strokes in warm random colours on antique white. Another run of the five-stroke sketch with a different arrangement.
17

Ok one more hygiene item. Every time you click play, you lose the prior option…forever. Add this to the very very bottom of your code:

function mousePressed(){
  saveCanvas('outputSave', 'png')
}

Now you can save a pic by clicking the image.

18

You’re done…kind of. Play with the variables! Here’s a few things you might do: Change strokeWeight from 25 to strokeWeight(50) for even thicker lines. Or change loops to 25 to add more lines. You get the point.

20

Although I'm skeptical many people have come this far in the thread, show me your work in the comments! I’d love to see. I’ll also pick a bunch and give you a WL for my upcoming collection.

21

I’m going to continue to add to this thread over time - follow for updates - but here are some additional resources for those that want to keep going down the rabbit hole. Join us at @circolors for feedback and tips. See here for helpful code: p5js.org Reference Find easy explanations for every piece of p5.js code.

22

final code if helpful!

Screenshot of the complete 21-line p5.js sketch in the editor: setup, draw with a while loop, and mousePressed with saveCanvas.
23

I love that this simple piece of code also represents so many different people who have helped me learn. To name a few... saveCanvas from @pixelwank Cleaner code (lol) from @TrainTestToad strokeCap from a random @shiffman video I believe

24

I also tagged the wrong account above. it's @CircolorsDAO for our discord

25

As simple as it is, the outputs really aren't too bad. Kind of elegant.

A grid of finished outputs from the sketch: overlapping thick strokes in reds, oranges and creams.